The Import Configuration File link lets you import a configuration file from the local machine or from the respective Firewall devices to the Firewall Analyzer.
Your configuration should be treated as sensitive information, just like your personal details should be considered as sensitive information.
For that reason we would recommend that the configuration should be transferred using an encrypted connection in order to help prevent it from being leaked. We recommend that you use either ASDM, PDM, HTTPS, SSH or a direct console connection to the device in order to get the configuration. We would recommend using HTTPS rather than HTTP for transferring your devices configuration as the latter provides no encryption.
We would recommend using either SSH (for remote connections) or using a direct connection to the console port. Telnet provides no encryption of the communications and therefore your authentication credentials and configuration would be vulnerable if a malicious user were to monitor your connection.
More information on extracting your devices configuration can be found in your devices documentation.
Cisco Devices Configuration File
There are multiple ways that you can extract the configuration from your Cisco Security Appliance, this section outlines just three of those.
Using ASDM And PDM
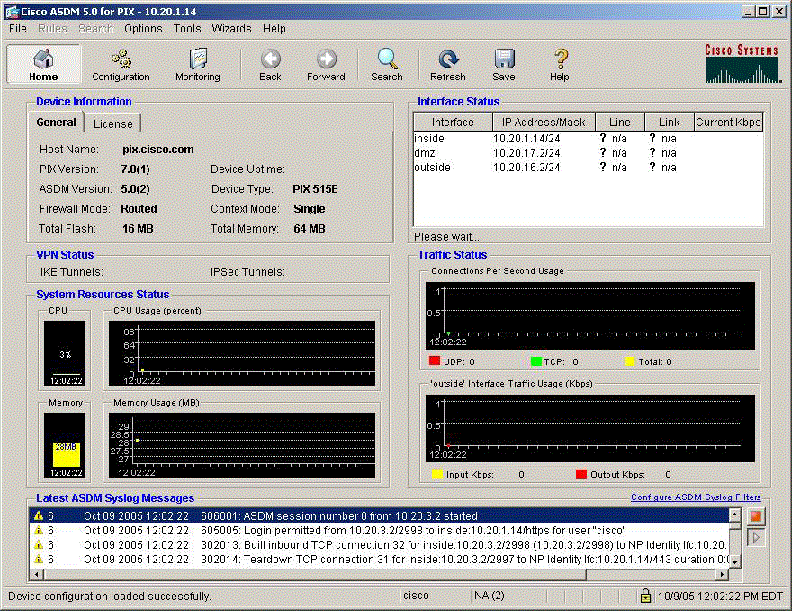
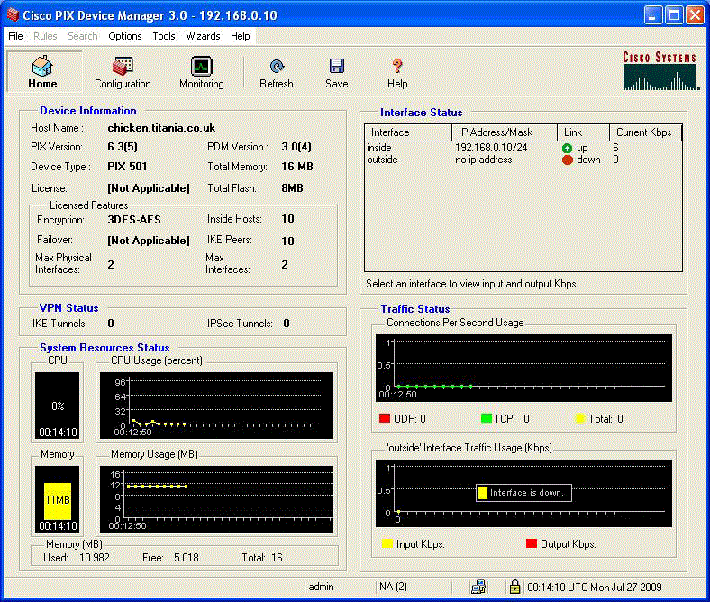
The ASDM and PDM interfaces can be accessed using a web browser with Java capabilities. Whether you have access to ASDM or PDM will depend on your security appliance (and its age), but the procedure is the same for both. The procedure for getting the configuration from the your device is as follows:
Cisco ASDM:

Cisco PDM:
Using TFTP
We don’t recommend using TFTP to transfer your configuration due to weaknesses in the protocol, the other methods described in this section are more secure. However, here is the procedure for using TFTP:
Using HTTP(S)
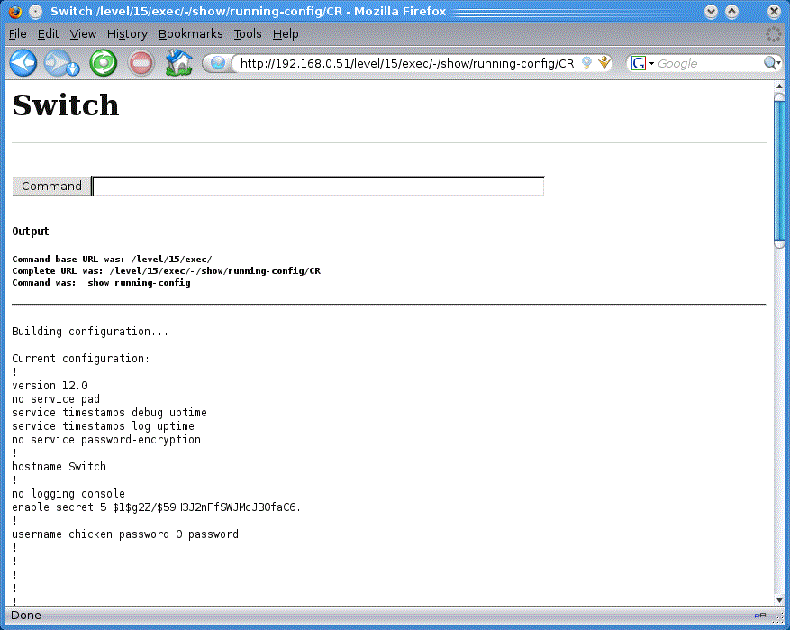
The procedure for getting the configuration from the device using HTTP(S) is as follows:
Using SSH, Telnet Or The Console
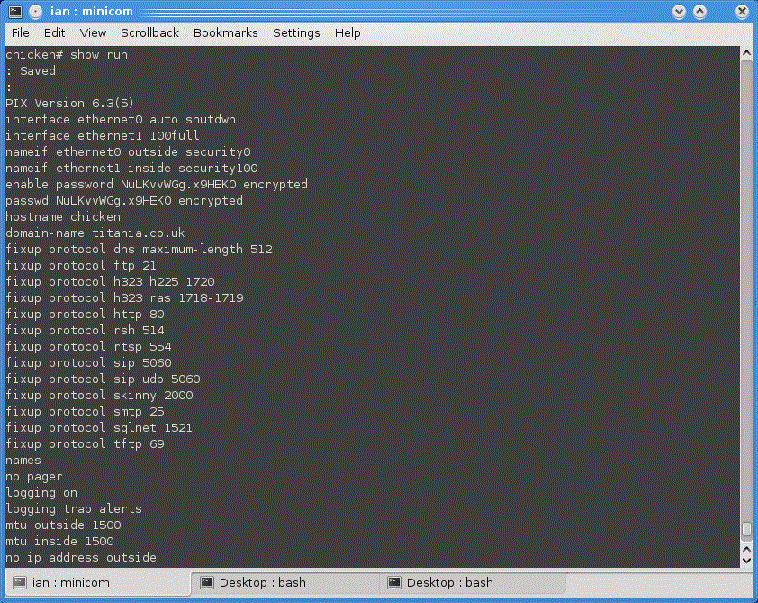
For this procedure you will be using the Command Line Interface (CLI) of your Cisco device using an SSH client (such as OpenSSH or Putty), Telnet or through the console port.
Use the following procedure to obtain a copy of the configuration file:
show run
Cisco Security Applicances (ASA, FWSM And PIX)
Cisco IOS-Based Routers
Cisco IOS-Based Catalysts
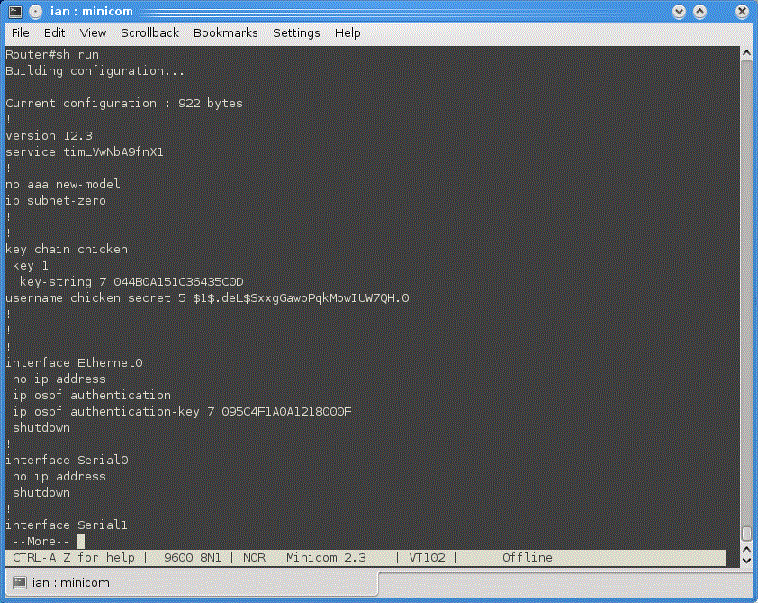
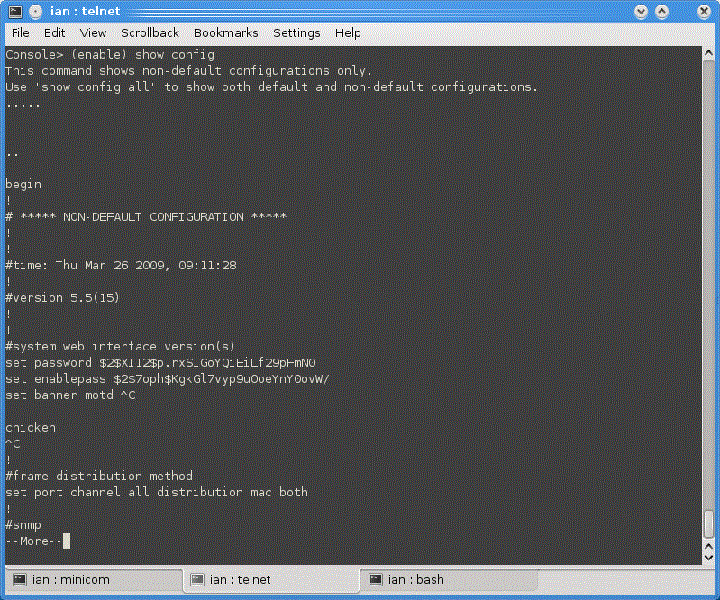
Cisco CatOS-Based Catalysts
Check Point software can run on a variety of different operating systems and platforms. Firewall Analyzer requires a number of different files from Check Point devices in order to perform the audit and these files can change between different configurations. This procedure will outline how to identify the configuration files that are required and how you can transfer them to your computer for processing with Firewall Analyzer.
Identifying The Configuration Files
Before continuing it is important to note that not all of these files may be on your system. On some deployments the information needed is stored in files with a different name. The sub-sections following this will show you how to search for those files depending on the firewall operating system / firmware.
The files that you should look for are (names are case-sensitive on some systems):
The files that you are looking for will probably be stored in a directory called conf or database.
Note |
|
IPSO And Other UNIX Check Point Systems
On IPSO and other UNIX type systems you will most likely need to use a command line interface to search for configuration files. The command line interface possibilities are SSH, Telnet (not-recommended) or using a direct console connection. Mac OS X and GNU/Linux systems will already have tools to connect to those services (ssh and telnet), for Windows users you will probably need to download a tool such as PuTTY. Once you are logged into your Check Point device you can search for files using the find
command. For example you can search your entire system for the objects.C file using the following command:
find / -name objects.C
The results will be 0 or more locations of that file on your system. So if you get no results, try the next file from the list above. On one of our test systems we get the following result from the command:
/var/opt/CPsuite-R62/fw1/conf/objects.C
From that we can see that we will need the /var/opt/CPsuite-R62/fw1/conf directory from the system. If we were to change to the directory (using the cd command) and list the contents (using the ls command) we can see that some of the other files are present in the same directory.
bash# cd /var/opt/CPsuite-R62/fw1/conf |
Once you have identified the configuration files you will need to transfer them to your computer so that they can be processed using Firewall Analyzer. This next step is described in the “Getting The Configuration Files” section.
Windows Check Point Systems
On Check Point-based Windows systems you can use the Windows search facility in order to
find the files. You can do this by right clicking on a disk or directory in Windows Explorer and selecting the “Search” option. On some versions the search facility is shown at the top of the Windows Explorer window.
Note |
The installation of Smart Dashboard and other Check Point tools may have included demo configuration files (accessed using the demo mode tick box in the interface). This may be picked up by your search and probably stored in a PROGRAM\cpml_dir\conf directory. If you have several installations then you will probably have several copies of the demo files. |
Once you have identified the configuration files you will need to transfer them to your computer so that they can be processed using Firewall Analyzer. This next step is described in the “Getting The Configuration Files” section.
Getting The Configuration Files
Now that you have identified the directory that contains the configuration files it will need to be transferred to your computer for use with Firewall Analyzer. This is described in more detail in the following sub-sections.
IPSO And Other UNIX Check Point Systems
It will probably be easiest to transfer the configuration to your system as a single file rather than as a large number of individual files. So we would recommend using the tar tool which should be available on your system. The tar command to create an archive stored as /tmp/my-config.tar has the following format:
tar -cvf /tmp/my-config.tar <directory>
To make it easier to navigate to the configuration directory latter, we will change to the directory below the conf directory first. Then on our system we could use the commands:
cd /var/opt/CPsuite-R62/fw1/
tar -cvf /tmp/my-config.tar conf
The method of transfer will depend on what you have available. Standard systems will support SCP and FTP. You may also be able to make use of a USB pen device. To secure copy the file to a device that offers FTP you could use the following commands:
ftp <ip-address>
ftp> bin
ftp> hash
ftp> put /tmp/my-config.tar
ftp> quit
To Secure CoPy (SCP) the file to a SSH service with Secure Copy enabled, you could use the following command:
scp /tmp/my-config.tar <username>@<ip-address>:<file-destination>
If you have SCP capabilities from your computer you could use the following to connect from your computer to the firewall:
scp <firewall-username>@<firewall-ip>:/tmp/my-config.tar <filename>
If your firewall has a USB port you may be able to use that in order to transfer your configuration. These procedures may vary slightly depending on the UNIX variant:
Windows Check Point Systems
It will probably be easiest to transfer the configuration to your system as a single file rather than as a large number of individual files. You can do this under Windows using the compress folder facility. Using the right mouse button on the folder, select the “Send To” and then“Compressed (zipped) Folder” option. This will create the compressed folder containing the configuration files in the same directory.
Depending on your system setup the archived configuration file could be transferred to your system using a USB pen, FTP or using a network share.
There are several different methods of extracting the configuration from your Juniper NetScreen device and this section outlines three different methods.
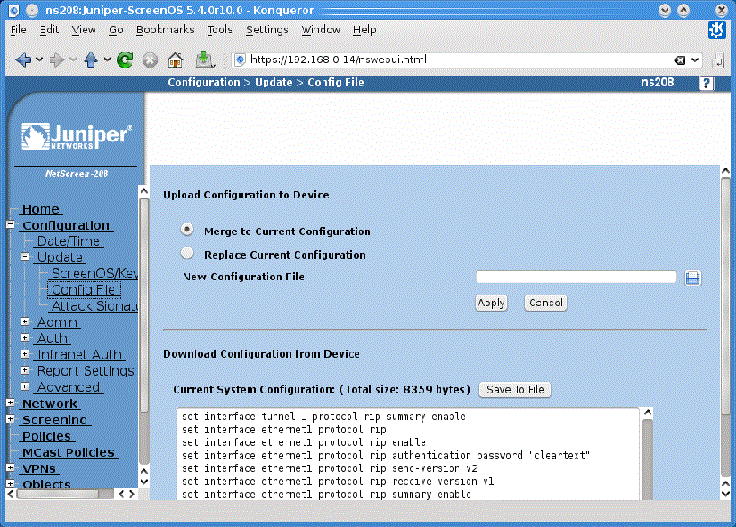
Using HTTP(S)
The procedure for getting the configuration from the device using HTTP(S) is as follows:
Using SSH, Telnet Or The Console
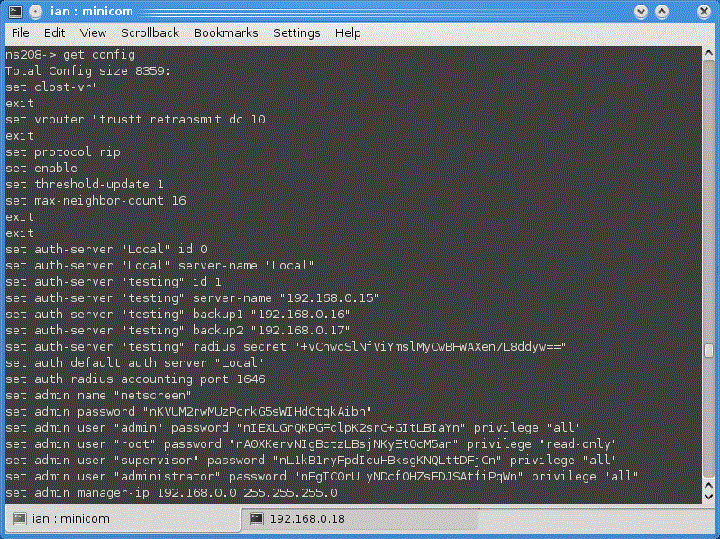
For this procedure you will be using the Command Line Interface (CLI) of your Juniper NetScreen device using an SSH client (such as OpenSSH or Putty), Telnet or through the console port.
Use the following procedure to obtain a copy of the configuration file:
get config all
Using TFTP
We having included TFTP in order to be complete, but we don’t recommend using this method for two reasons:
However, if you want to make use of TFTP to transfer the configuration from your NetScreen device then the procedure is as follows:
save config to tftp <your-ip-address> <the-filename> / from interface <interface>
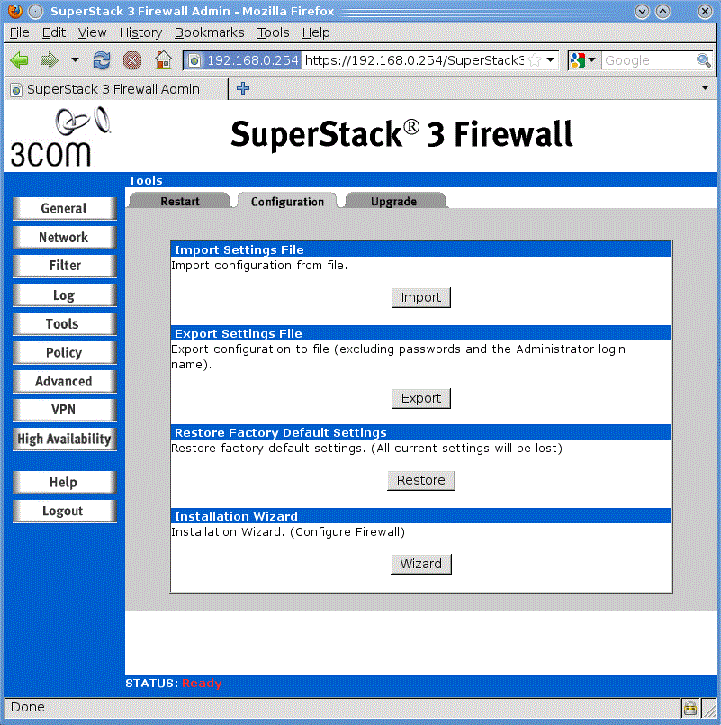
This section provides details of how to extract the configuration from your 3Com SuperStack 3 firewall so that it can then be used with Firewall Analyzer.
Using HTTP(S)
The procedure for getting the configuration from the device using HTTP(S) is as follows:
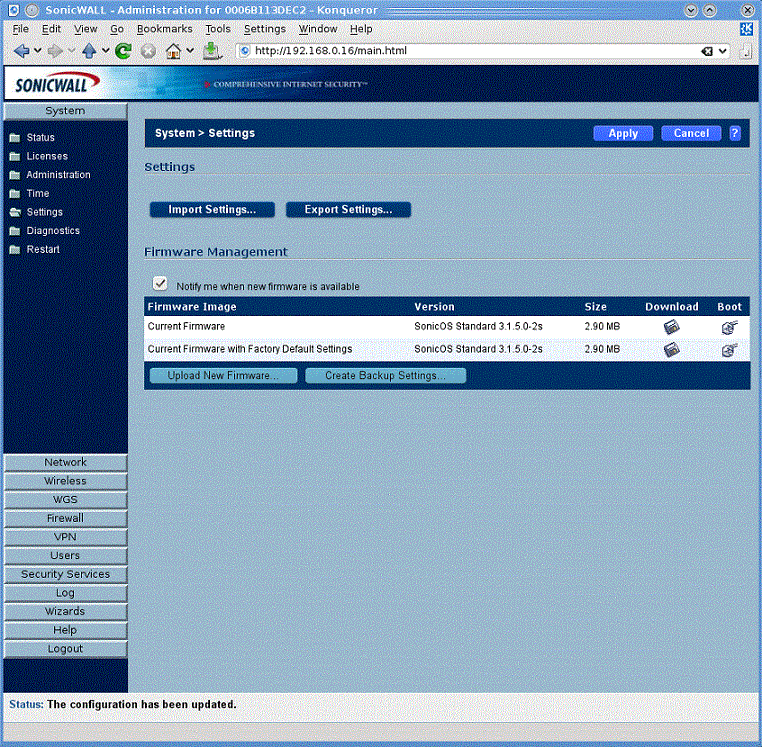
This section provides details of how to extract the configuration from your SonicWALL firewall so that it can then be used with Firewall Analyzer.
Using HTTP(S)
The procedure for getting the configuration from the device using HTTP(S) is as follows:
Follow the on screen instructions to save the device configuration to a file.
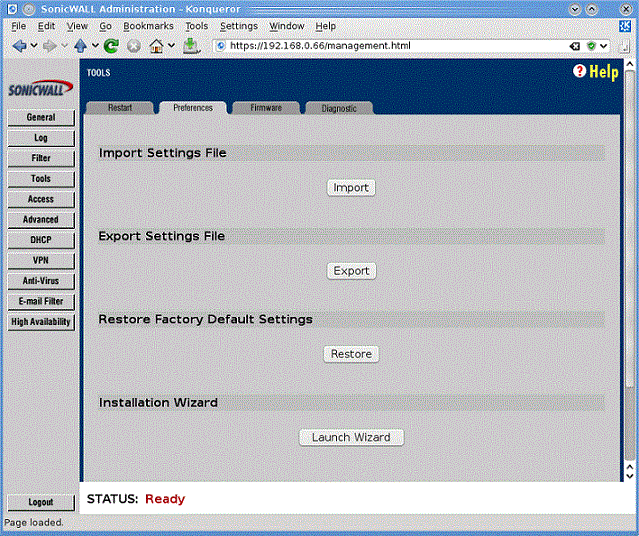
Using HTTP(S) On Older Devices
The procedure for getting the configuration from the device using HTTP(S) is as follows:
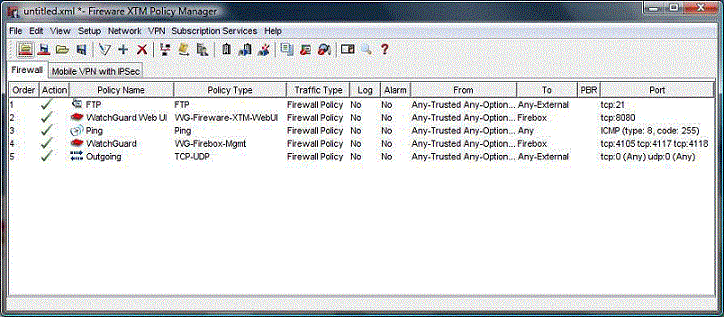
You will need to connect to your WatchGuard firewall using the WatchGuard System Manager software that came with your firewall (you can also download this software using your WatchGuard support login).
Using WatchGuard System Manager
The procedure for getting the configuration from the device using WatchGuard System Manager is as follows:
SecureOS Version 6
The configuration can easily be obtained from SecureOS 6 firewalls, but it is not directly usable in the form extracted from the firewall. This section details how to obtain the configuration from a SecureOS 6 firewall.
To obtain the XML configuration file usable by Nipper, follow the procedure below:
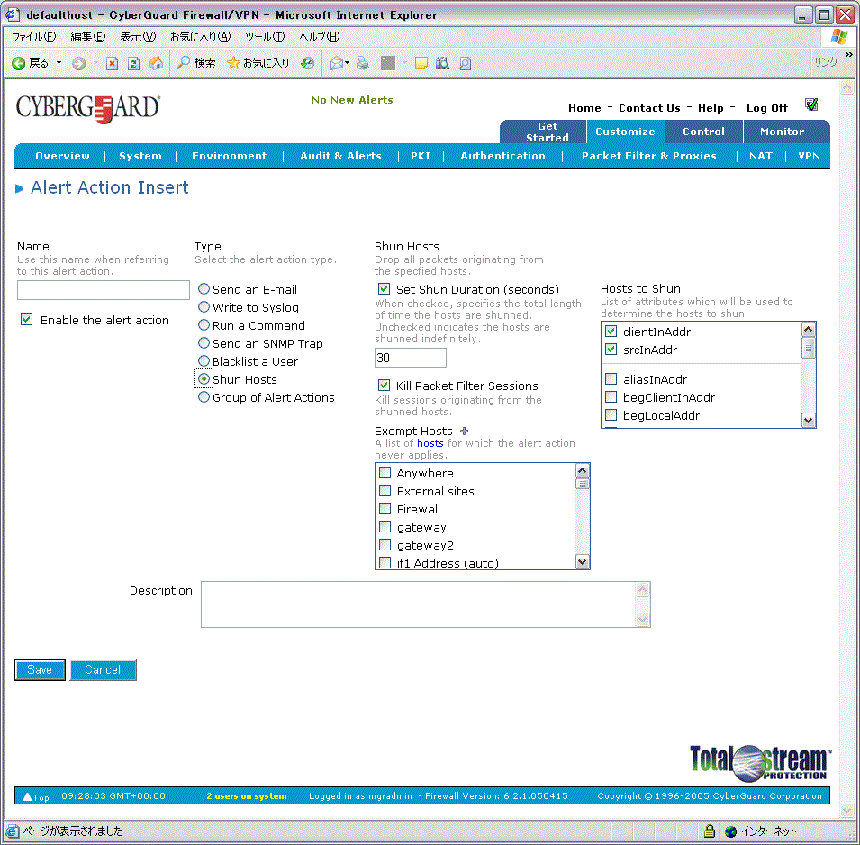
SecureOS Version 7+
The configuration file provided by these versions of the operating system are now encrypted and therefore no longer usable by Firewall Analyzer.